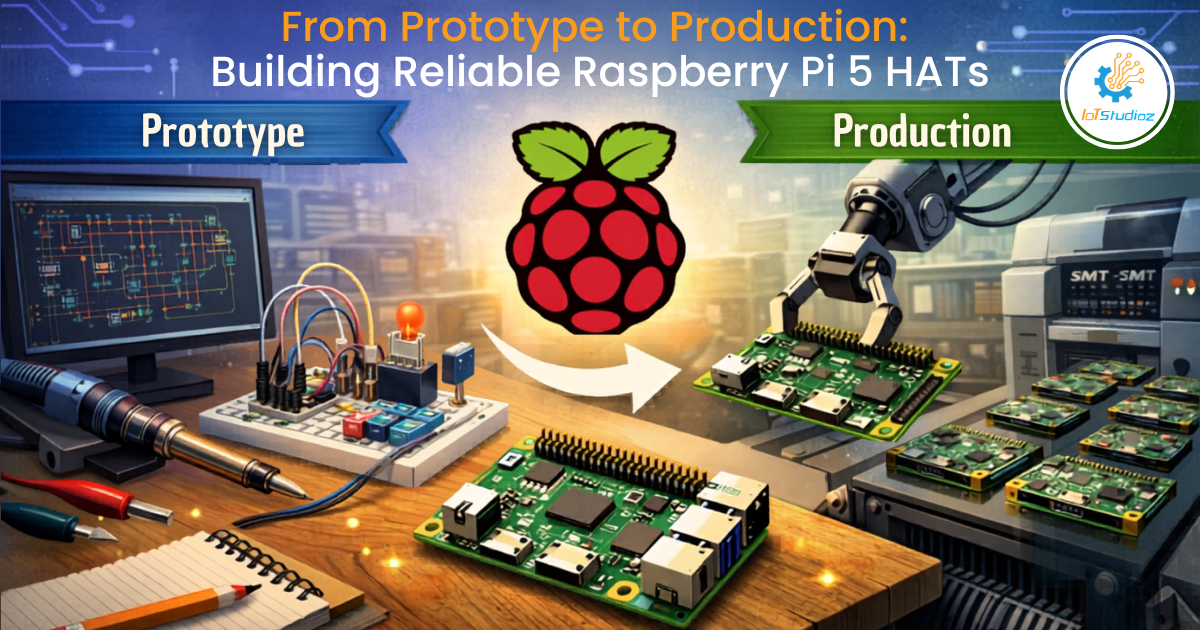
From Prototype to Production: Building Reliable Raspberry Pi 5 HATs
Turning a working prototype into a production-ready Raspberry Pi 5 HAT is where engineering discipline truly begins. Many developers underestimate the gap between “it works on my desk” and “it works reliably for thousands of users in different environments.” This transition involves not just refining your circuit, but rethinking your entire design approach – electrical, mechanical, software, and operational.
This in-depth guide explores every stage of that journey, highlighting practical considerations, common pitfalls, and proven strategies to help you build reliable, scalable Raspberry Pi 5 HATs.
1. Re-Evaluating Your Prototype
A prototype is designed to validate an idea – not to be perfect. Before moving forward, critically evaluate your design with a production mindset.
- Was it tested under real-world conditions?
Prototypes are often tested in ideal lab environments. Production units must handle voltage fluctuations, temperature variations, and user misuse. - Are there “temporary fixes”?
Breadboard wires, bodge resistors, and patched firmware must be eliminated and replaced with proper design decisions. - Is the design overcomplicated?
Simplify wherever possible. Fewer components generally mean fewer failure points.
Take time to document everything you learned during prototyping – this becomes invaluable during refinement.
2. Deep Dive into Raspberry Pi 5 HAT Specifications
The HAT (Hardware Attached on Top) standard ensures compatibility, but the Raspberry Pi 5 introduces higher performance expectations and stricter design discipline.
2.1 EEPROM and Auto-Configuration
Each HAT should include an EEPROM that enables plug-and-play functionality. This EEPROM identifies the board, configures GPIO pins, and loads device tree overlays automatically during boot.
A poorly configured EEPROM can lead to boot failures, GPIO conflicts, or unpredictable system behavior – issues that are extremely difficult for end users to diagnose.
2.2 GPIO and Signal Integrity
With faster processors and higher data rates, signal integrity becomes more critical than ever.
Poor routing can introduce noise, crosstalk, and timing issues. To mitigate this:
- Use proper pull-up/pull-down resistors
- Minimize trace lengths for high-speed signals
- Separate noisy and sensitive signal paths
2.3 Power Budget Awareness
The Raspberry Pi 5 consumes more power compared to its predecessors. Your HAT must be designed with this in mind.
Avoid drawing excessive current from the 5V rail. If your design includes high-power components (like sensors, relays, or communication modules), consider external power inputs with proper isolation.
3. Advanced PCB Design Practices
Moving to production requires professional-grade PCB design techniques.
3.1 Layer Stack-Up
While 2-layer PCBs are common in prototypes, production boards benefit significantly from 4-layer designs:
- Top layer: signal routing
- Inner layer 1: ground plane
- Inner layer 2: power plane
- Bottom layer: signal routing
This structure enhances signal integrity, reduces electromagnetic interference (EMI), and improves heat dissipation.
3.2 Grounding Strategy
A continuous and solid ground plane is essential. Avoid splitting ground planes unless absolutely necessary, as it can introduce noise and instability.
Use stitching vias to maintain ground continuity across layers, especially in high-frequency designs.
3.3 High-Speed Design Considerations
For interfaces like SPI, I2C (at higher speeds), or PCIe:
- Match trace lengths where timing matters
- Maintain controlled impedance
- Avoid sharp angles – use smooth trace routing
3.4 Design for Manufacturability (DFM)
A manufacturable design reduces errors and improves yield:
- Maintain consistent trace widths
- Ensure proper spacing between components
- Avoid placing components too close to edges
- Use standard footprints wherever possible
DFM is not optional – it directly impacts cost and scalability.
4. Power Architecture: Designing for Stability and Safety
Power design is one of the most critical – and often neglected – areas in hardware development.
4.1 Voltage Regulation
Use switching regulators (buck converters) for efficient power conversion, especially for higher currents. For sensitive analog or RF sections, use low-dropout regulators (LDOs) to minimize noise.
4.2 Protection Mechanisms
Robust designs include built-in protections:
- Overvoltage protection using TVS diodes
- Reverse polarity protection with diodes or MOSFETs
- Overcurrent protection via fuses or current limiters
These safeguards protect both your board and the Raspberry Pi.
4.3 Decoupling and Bulk Capacitors
Decoupling capacitors (typically 0.1µF) should be placed close to IC power pins to filter high-frequency noise. Bulk capacitors handle sudden current demands and stabilize voltage levels.
4.4 Power Sequencing
Some components require controlled startup sequences. Improper sequencing can lead to latch-up conditions or undefined states.
Use enable pins or dedicated sequencing ICs to ensure safe startup and shutdown behavior.
5. Thermal Management
Thermal performance directly affects reliability and lifespan.
5.1 Identifying Heat Sources
Common heat-generating components include:
- Voltage regulators
- Power MOSFETs
- Communication ICs
5.2 Thermal Solutions
Effective thermal design includes:
- Thermal vias beneath heat-generating components
- Copper pours for heat spreading
- Strategic component placement
- Optional heatsinks or airflow paths
5.3 Real-World Testing
Always test thermals in realistic conditions – inside enclosures, under load, and in varying ambient temperatures. Open-air testing alone is misleading.
Ignoring thermal design can result in intermittent failures that are extremely difficult to debug.
6. Component Selection and Lifecycle Planning
Component choice determines long-term viability.
6.1 Reliability Considerations
Choose components rated for:
- Extended temperature ranges (industrial-grade if needed)
- High reliability (MTBF ratings)
- Proven manufacturer quality
6.2 Lifecycle Awareness
Avoid components nearing obsolescence:
- Check lifecycle status (Active, NRND, EOL)
- Prefer widely adopted parts with long-term availability
6.3 Second Sourcing
Never rely on a single supplier. Identify pin-compatible alternatives and validate them early in the design phase.
Supply chain disruptions are a real risk – and can completely halt production.
7. Mechanical and Industrial Design
Hardware isn’t just electrical – it must also be physically usable and durable.
7.1 Connector Placement
Ensure connectors are easily accessible and do not interfere with Raspberry Pi ports. Poor placement leads to frustrating user experiences.
7.2 Board Dimensions and Stacking
Follow official HAT dimensions and stacking guidelines. Ensure compatibility with other add-ons and accessories.
7.3 Enclosure Design
Design your board with enclosures in mind:
- Allow space for cables
- Ensure proper ventilation
- Avoid cramped layouts
7.4 Durability
Use mounting holes and reinforce connectors that experience mechanical stress. Weak mechanical design is a common cause of field failures.
8. Firmware, Drivers, and Software Ecosystem
Hardware is only as good as the software supporting it.
8.1 Driver Development
Develop stable, efficient drivers that follow Linux best practices. If possible, contribute upstream to ensure long-term compatibility.
8.2 Error Handling
Robust systems handle failures gracefully:
- Detect communication issues
- Retry intelligently
- Provide meaningful error messages
8.3 Updates and Maintenance
Support firmware updates and ensure compatibility with future OS releases. Neglecting updates can render your product obsolete.
8.4 Developer Experience
Provide a strong ecosystem:
- Python and C libraries
- Sample code and tutorials
- Clear and consistent APIs
A smooth developer experience significantly increases adoption.
9. Testing Strategy: From Lab to Production Line
Testing must be systematic and continuous.
9.1 Unit Testing
Validate individual components and subsystems independently.
9.2 Integration Testing
Ensure seamless interaction between the HAT and the Raspberry Pi.
9.3 Environmental Testing
Simulate real-world conditions:
- Temperature cycling
- Humidity exposure
- Mechanical vibration (if applicable)
9.4 Burn-In Testing
Run devices continuously for 24–72 hours to identify early-life failures.
9.5 Production Testing
Implement automated testing:
- Use test jigs and fixtures
- Automate pass/fail criteria
- Log results for traceability
Testing is not a phase – it’s an ongoing process.
10. Compliance and Regulatory Requirements
Compliance is essential for commercial products.
10.1 EMI/EMC
Poor EMI design can cause interference and certification failure. Address this early through proper layout, shielding, and filtering.
10.2 Safety Standards
Ensure safe voltage levels and avoid exposed conductive parts.
10.3 Environmental Regulations
Meet global requirements such as:
- RoHS (Restriction of Hazardous Substances)
- WEEE (Waste Electrical and Electronic Equipment)
Certification is costly – plan for it from the beginning.
11. Documentation and Support Infrastructure
Clear documentation reduces friction and builds trust.
11.1 Technical Documentation
Provide:
- Schematics (if open-source)
- Pinout diagrams
- Electrical specifications
11.2 User Documentation
Include:
- Quick start guides
- Installation steps
- Troubleshooting tips
11.3 Support Channels
Offer:
- GitHub issue tracking
- Community forums
- Email or ticket-based support
Good documentation directly reduces support overhead.
12. Manufacturing and Scaling Up
Scaling introduces new challenges beyond design.
12.1 Choosing the Right Manufacturer
Evaluate manufacturers based on:
- Experience with similar products
- Quality control systems
- Communication efficiency
12.2 BOM Management
Maintain a version-controlled Bill of Materials (BOM) with approved alternatives.
12.3 Pilot Production Runs
Start with small batches to identify issues before full-scale production.
12.4 Quality Assurance
Implement:
- Incoming inspection of components
- Random sampling of finished products
- Failure tracking and analysis
Scaling too quickly without validation can lead to costly recalls.
13. Post-Production Considerations
Your product journey doesn’t end at launch—it evolves in the field.
13.1 Field Feedback
Actively monitor user feedback, bug reports, and real-world performance data. This insight is invaluable for future revisions.
13.2 Version Control
Track hardware revisions clearly (v1.0, v1.1, etc.) and maintain detailed changelogs.
13.3 Long-Term Support
Provide firmware updates, maintain compatibility, and ensure spare parts availability to extend product lifespan.
Conclusion
Building a production-ready Raspberry Pi 5 HAT requires a fundamental shift – from rapid experimentation to disciplined engineering. Every detail matters: from PCB layout and power stability to thermal design, software support, and manufacturing processes.
Reliability is not achieved by chance – it is designed, tested, and continuously improved.
The most successful hardware products are not just functional; they are robust, scalable, and user-friendly. By investing time in design validation, testing, and documentation, you not only reduce failures but also build trust with your users.
In the end, moving from prototype to production is not just about building hardware—it’s about building confidence in your product at scale.
